How to Repair Dings and Maintain Your Surfboard
Neptune
March 30, 2026
Why Surfboard Maintenance Matters More Than You Think
Every surfer has been there. You pull your board out after a great session and notice a fresh crack in the rail, a pressure dent on the deck, or a chunk missing from the nose. It's tempting to shrug it off — after all, it's just cosmetic, right?
Wrong. That small ding is an open wound. Every time you take your board back into the water without fixing it, saltwater seeps through the damaged fiberglass and into the foam core underneath. Over days and weeks, the foam becomes waterlogged, heavy, and begins to delaminate from the glass. What started as a five-minute repair turns into a board that feels sluggish, flexes in weird places, and eventually becomes unsalvageable.
The good news is that most surfboard repairs are surprisingly simple. With a few inexpensive supplies and about thirty minutes, you can fix the vast majority of dings at home — no shaper required. And with proper ongoing maintenance, you can extend the life of your board by years.
This guide covers everything you need to know: identifying different types of damage, performing DIY repairs for both polyester and epoxy boards, and establishing a maintenance routine that keeps your quiver in peak condition.
Understanding Your Board's Construction
Before you start any repair, you need to know what your board is made of. Using the wrong materials can cause more damage than the ding itself.
Polyester (PU/PE) Boards
Traditional surfboards use a polyurethane (PU) foam blank wrapped in fiberglass cloth and sealed with polyester resin. These boards are the most common type in the water and have been the standard for decades. They're relatively easy to repair because polyester resin is forgiving to work with and cures quickly.
How to identify: PU boards tend to be slightly heavier. If you look at an exposed area of foam (inside a ding), the foam will appear off-white or yellowish with a consistent, fine-grained texture.
Epoxy (EPS) Boards
Modern performance boards increasingly use expanded polystyrene (EPS) foam with epoxy resin. These boards are lighter, more buoyant, and more durable — but they require different repair materials. You cannot use polyester resin on an EPS board. The polyester resin's chemicals will melt the EPS foam on contact, turning a small ding into a crater.
How to identify: EPS boards feel noticeably lighter for their size. The foam inside a ding will look white with visible tiny beads (like a styrofoam cup). Brands like Firewire, Lib Tech, and many soft-tops use EPS/epoxy construction.
The Golden Rule
If you're not sure what your board is made of, always use epoxy resin for repairs. Epoxy resin is compatible with both PU and EPS foam. Polyester resin only works safely on PU foam. When in doubt, go epoxy.
Types of Surfboard Damage
Not all dings are created equal. Here's how to identify what you're dealing with and how urgently it needs attention.
Surface Cracks and Spider Cracks
These are small, hairline fractures in the fiberglass shell that haven't penetrated through to the foam. They often radiate outward from a single impact point like a spider web. Surface cracks are the most common type of damage and the least urgent — but they should still be sealed to prevent water intrusion over time.
Urgency: Low. Seal them when you get a chance, but a session or two won't cause catastrophic damage.
Pressure Dents
Those depressions on the deck where your feet go are pressure dents. They're caused by the repeated force of your weight compressing the foam through the fiberglass. Pressure dents are essentially a sign of a well-loved board and are largely cosmetic — the fiberglass shell is usually still intact.
Urgency: Very low. These are normal wear. Only repair them if the glass has actually cracked within the dent.
Open Dings and Punctures
This is where foam is exposed to the elements. Whether it's a chunk taken out of your rail from a collision, a fin gash from another board, or a rock strike on the bottom, any damage that exposes foam needs immediate attention. Open dings are the number one killer of surfboards.
Urgency: High. Do not surf on an open ding. If you can't repair it right away, cover it with duct tape or Solarez as a temporary seal.
Rail Cracks
Cracks along the rail — especially where the deck meets the bottom — are particularly concerning because the rail takes the most stress during surfing. Rail cracks can flex open during a session, allowing water to pour in. They also tend to spread if left unrepaired.
Urgency: High. The rail is a structural area. Fix these before your next session.
Delamination
When the fiberglass shell separates from the foam core, you get a soft, spongy area that flexes independently from the rest of the board. Delamination is often caused by heat exposure (leaving your board in a hot car) or accumulated water damage from unfixed dings. It feels like pressing on a blister.
Urgency: Moderate to high. Small areas of delamination can be re-bonded with resin. Large areas may require professional repair or may signal the board is reaching end of life.
Your DIY Ding Repair Kit
You don't need a full shaping bay to fix most dings. Here's what to keep on hand.
Essential Supplies
- Resin — Polyester resin (for PU boards) or epoxy resin (for EPS boards, or if unsure). Solarez and Ding All make surf-specific UV-cure resins that are incredibly convenient for quick repairs.
- Fiberglass cloth — 4 oz or 6 oz woven cloth. You'll cut small patches from this to reinforce repairs.
- Sandpaper — A range from 60-grit (rough shaping) to 220-grit (smoothing) to 400-grit or higher (finishing).
- Mixing cups and stir sticks — For two-part resin systems.
- Masking tape — To protect the area around your repair.
- Acetone or denatured alcohol — For cleaning the repair area and your tools.
- Razor blade or utility knife — For trimming excess fiberglass and resin.
- Sanding block — Keeps your sandpaper flat for an even finish.
Quick-Fix Supplies
For on-the-go repairs or temporary seals:
Working on ding repair? Get personalized tips from Neptune's AI coach.
Try Free- UV-cure resin (Solarez) — Cures in direct sunlight in 3-5 minutes. Perfect for small dings.
- Duct tape — The universal temporary ding cover. Not pretty, but it keeps water out.
- Epoxy putty sticks — Knead and press into small dings for a quick waterproof seal.
Step-by-Step Ding Repair
Here's how to fix the most common type of damage: an open ding with exposed foam.
Step 1: Dry the Board Completely
If the ding has been exposed to water, you need to get all the moisture out before sealing it. Stand the board with the ding facing down in a warm, dry area (not in direct sunlight — heat causes delamination). For small dings, a day or two is usually enough. For larger ones or dings that have been in the water for multiple sessions, give it a full week. You can use a hair dryer on low heat to speed things up, but never use high heat.
Pro tip: Place the board ding-side-down so gravity helps pull water out. You can also place a paper towel inside the ding — if it's still absorbing moisture after 24 hours, the board needs more drying time.
Step 2: Clean and Prep the Area
Remove any loose fiberglass fragments, dirt, or wax from around the ding. Use sandpaper (80 to 100 grit) to rough up the area about an inch around the damage. This gives the resin something to grip. Wipe the sanded area with acetone to remove any dust, wax residue, or oils.
Apply masking tape around the repair area to create a clean border and protect the surrounding finish.
Step 3: Fill the Void
If there's a significant amount of missing foam, you'll need to fill it before glassing. For PU boards, you can use Q-cell filler mixed with resin to create a lightweight paste. For EPS boards, use small pieces of EPS foam glued in with epoxy. Sand the filler flush with the board's surface once it cures.
For shallow dings where only a small amount of foam is exposed, you can skip this step and let the resin and fiberglass cloth fill the void.
Step 4: Apply Fiberglass Cloth
Cut a piece of fiberglass cloth about half an inch larger than the damaged area on all sides. For structural areas like the rail, cut two overlapping layers — one slightly larger than the other — for added strength.
Lay the cloth over the prepped area. Mix your resin according to the manufacturer's instructions (for two-part systems, the ratio matters — don't eyeball it). Using a brush or squeegee, saturate the fiberglass cloth with resin. Work from the center outward to avoid air bubbles. The cloth should become transparent when fully saturated.
Step 5: Cure
For UV-cure resin (Solarez), place the board in direct sunlight. The resin will harden in 3-5 minutes. For catalyzed polyester resin, allow 20-30 minutes indoors. For two-part epoxy, follow the manufacturer's cure time — usually several hours to overnight.
Don't rush this step. Under-cured resin is soft, porous, and won't hold up.
Step 6: Sand and Finish
Once fully cured, remove the masking tape and begin sanding. Start with 120-grit to knock down any high spots and shape the repair flush with the board's surface. Progress through 220-grit, then 400-grit for a smooth finish. For a glossy look that matches the rest of the board, finish with 600-grit or higher wet-sanding.
Run your hand across the repair. It should feel seamless with the surrounding surface. If you can feel a ridge or a depression, keep sanding or apply another thin layer of resin.
Common Repair Mistakes to Avoid
Even experienced surfers make these errors. Learn from their mistakes.
Using Polyester Resin on an EPS Board
This is the single most common DIY repair disaster. As mentioned earlier, polyester resin dissolves EPS foam. If you're even slightly unsure about your board's construction, default to epoxy. The repair will take longer to cure but won't destroy your board.
Repairing Over Wet Foam
Sealing in moisture is worse than leaving a ding open. Trapped water causes ongoing delamination from the inside, weakening a much larger area than the original damage. Patience during the drying phase saves boards.
Applying Resin Too Thick
More resin doesn't mean a stronger repair. Thick resin pools create heavy spots, cure unevenly, and are harder to sand smooth. Apply thin, even layers. It's always better to do two thin coats than one thick one.
Skipping the Fiberglass Cloth
For anything beyond a tiny surface crack, resin alone isn't enough. Fiberglass cloth provides the structural strength that prevents the repair from cracking again under stress. Think of resin as the glue and fiberglass as the reinforcement — you need both.
Sanding in One Direction
Always sand with a variety of directions using a sanding block. Sanding in one direction creates grooves that catch water and look awful. Circular or cross-hatch patterns produce the smoothest finish.
Ongoing Maintenance: Keeping Your Board Healthy
Repair is reactive. Maintenance is proactive. Here's how to prevent damage before it happens.
After Every Session
- Rinse with fresh water. Saltwater is corrosive. A quick rinse removes salt crystals that can degrade the board's finish over time.
- Inspect for new dings. Run your hands along the rails and check the nose and tail. Catching damage early means easier repairs.
- Store in a board bag or sock. Even a basic cloth sock protects against dings during transport.
Monthly Maintenance
- Strip and reapply wax. Old wax gets dirty, loses grip, and can trap moisture against the deck. Use a wax comb to scrape off old wax, clean the surface with a citrus-based wax remover, and apply a fresh coat appropriate for your water temperature.
- Check fin boxes and plugs. Wiggle your fins in their boxes. Loose fin boxes can crack and allow water in. Tighten any screws and inspect the box edges for cracks.
- Inspect for delamination. Press around the deck and bottom, feeling for any soft or spongy spots. Early detection prevents the problem from spreading.
Storage Best Practices
How you store your board has a massive impact on its longevity.
- Never leave your board in a car. Interior car temperatures can exceed 150°F (65°C) on a sunny day. This heat causes the foam core to expand, separating it from the fiberglass shell — classic heat delamination. Even 30 minutes in a hot car can cause damage.
- Store out of direct sunlight. UV radiation yellows and weakens fiberglass over time. Keep boards in a shaded, ventilated area.
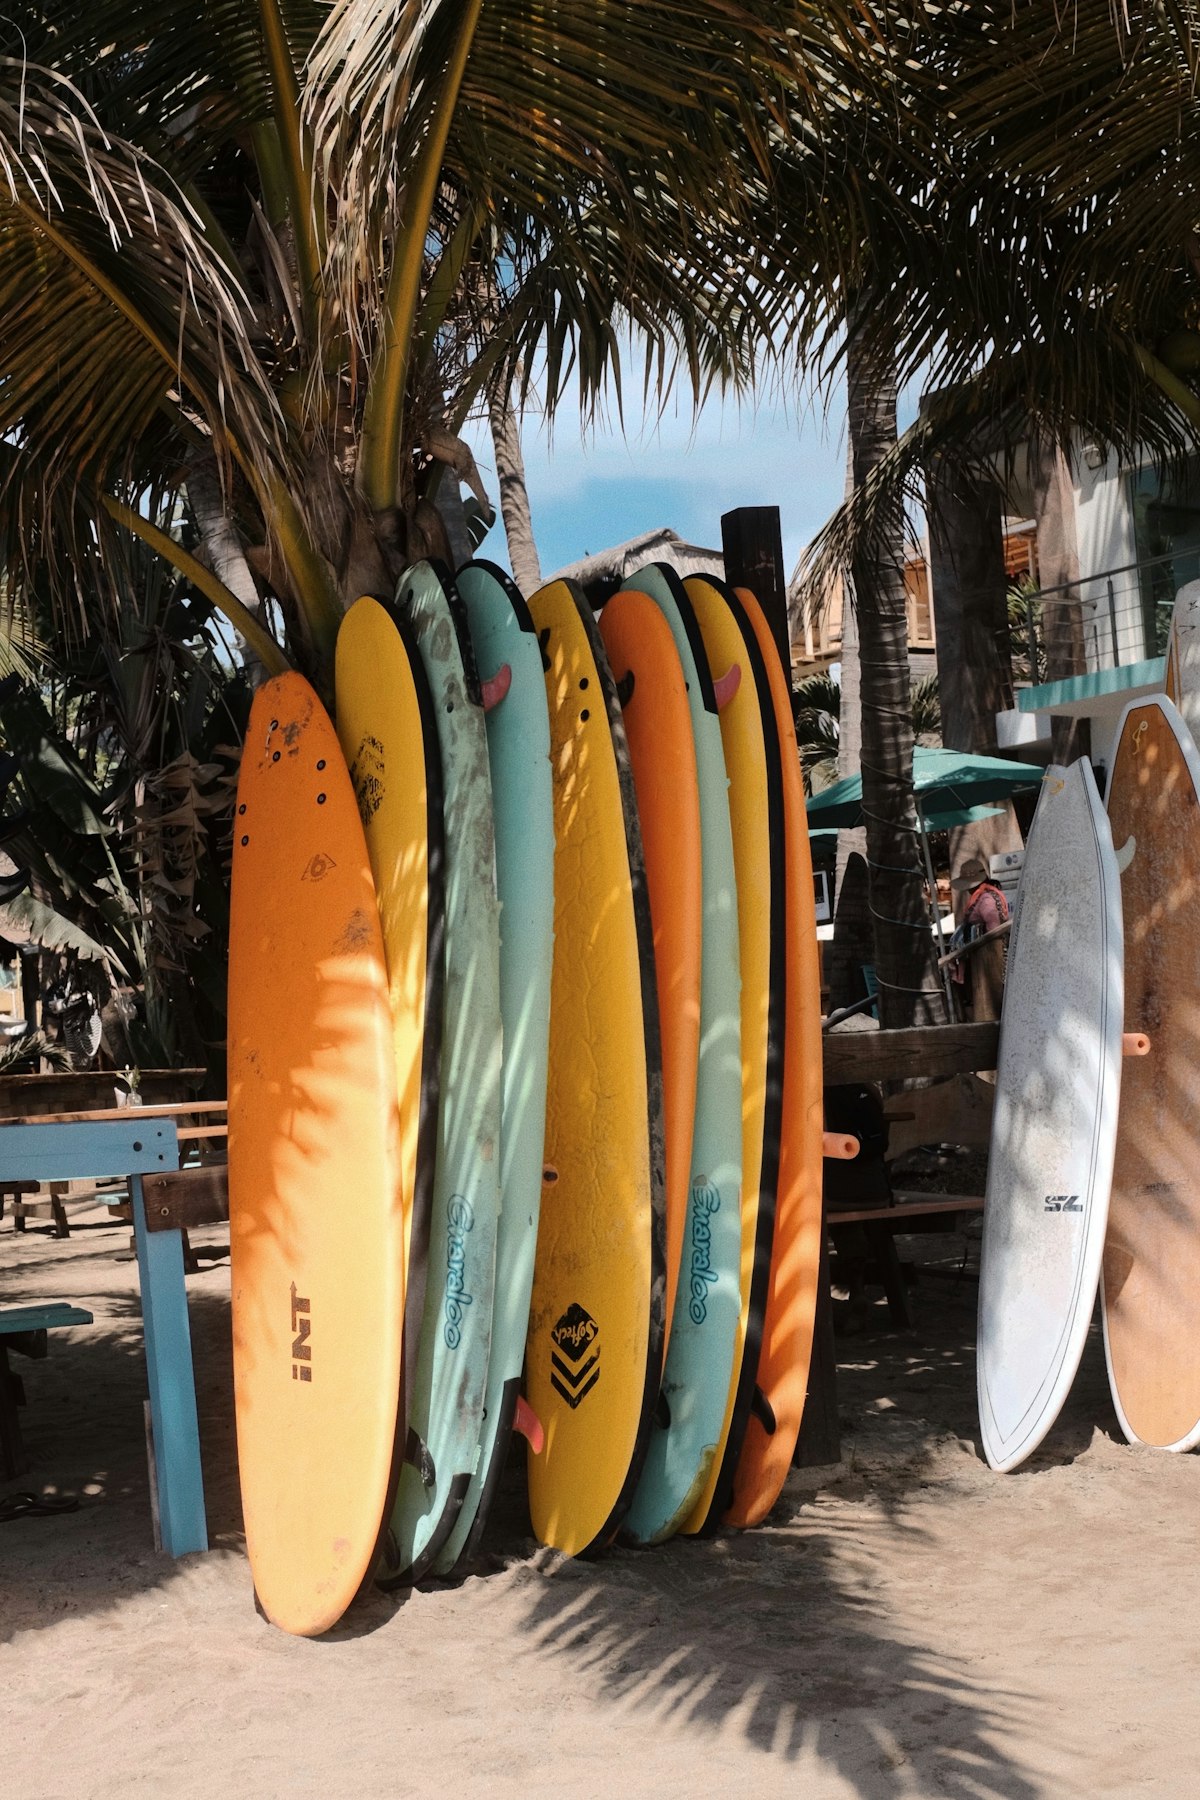
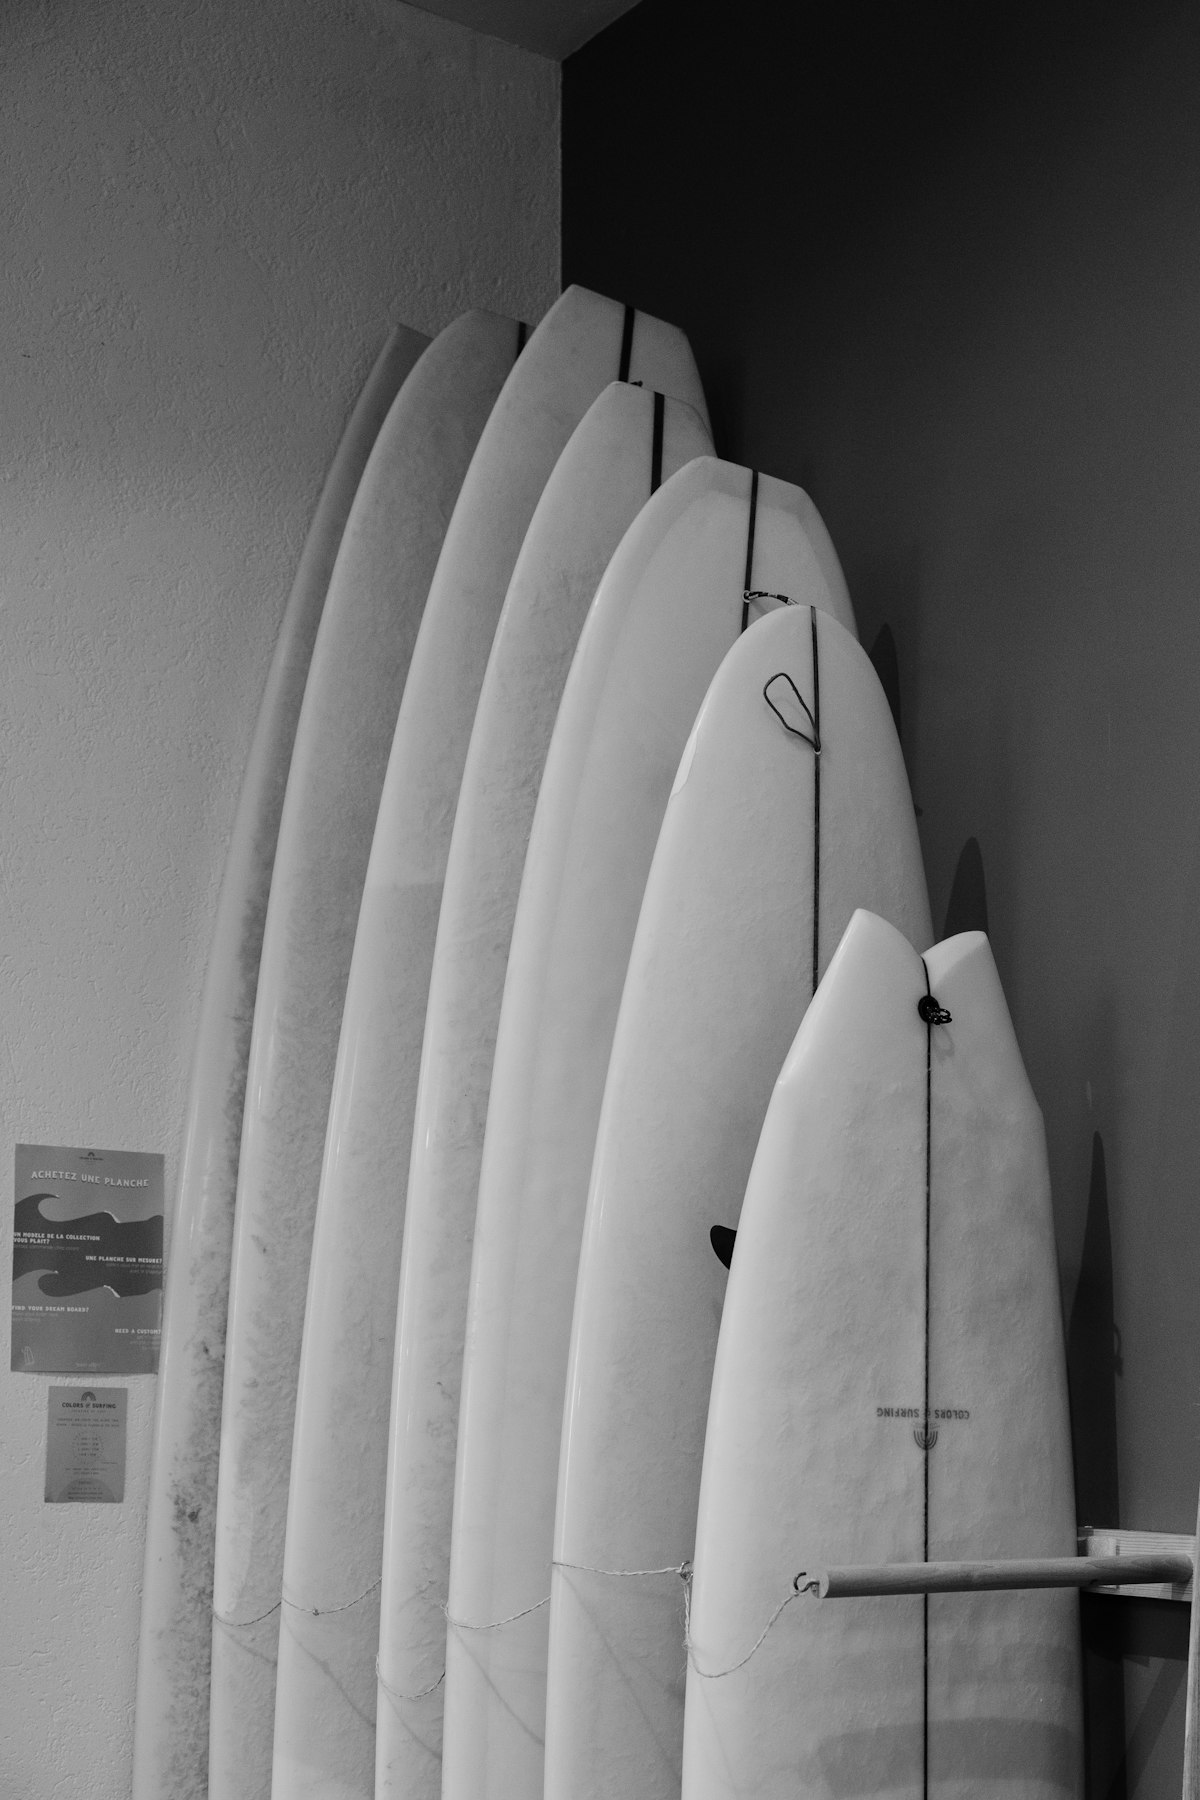
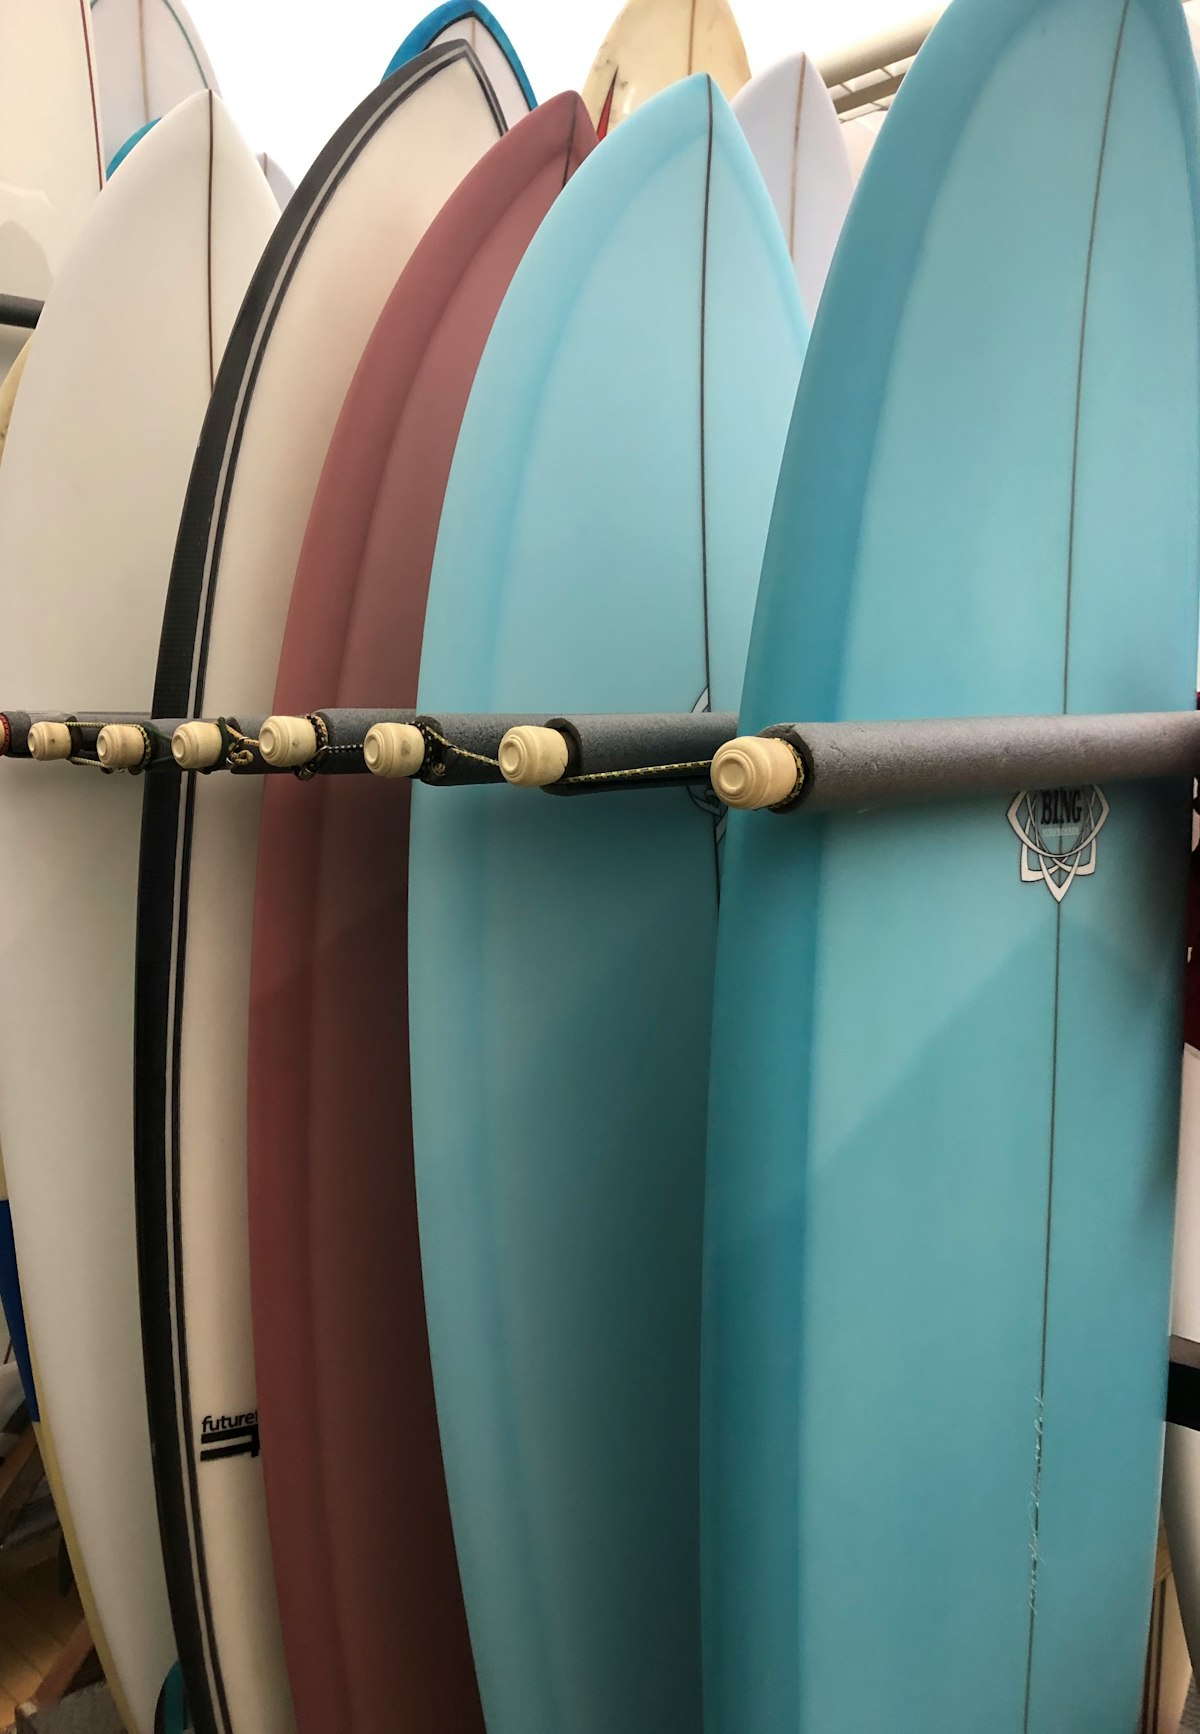
- Use a board rack. Leaning boards against walls leads to pressure dents and warping. A proper wall rack or freestanding rack distributes weight evenly and keeps boards safe from accidental knocks.
- Store deck-side down or on the rail. If you must lay a board flat, place it deck-down on a soft surface. The deck is designed to handle pressure; the bottom is not. Better yet, store on the rail in a rack.
- Loosen or remove leash strings. A tightly tied leash string can create a pressure point on the tail over long storage periods.
When to Call a Professional
DIY repairs cover the vast majority of surfboard damage, but some situations call for a professional ding repair specialist or shaper.
Structural Damage Near the Stringer
If a crack or break runs across or along the stringer (the wooden strip running down the center of PU boards), the board's structural backbone is compromised. Stringer repairs require careful alignment and reinforcement that goes beyond basic ding repair.
Large Delamination Areas
When delamination covers more than a few square inches, re-bonding becomes complex. A professional can inject resin, apply vacuum pressure, and ensure a proper bond across the entire affected area.
Snapped or Buckled Boards
A board that has been snapped or severely buckled can sometimes be repaired, but it requires fiberglass layup skills, alignment jigs, and structural knowledge. A professional repair on a favorite board is almost always worth the cost compared to buying a replacement.
Custom Fin Box Replacement
Damaged or torn-out fin boxes need to be routed, aligned, and glassed in precisely. Misaligned fins drastically affect how a board rides. This is one repair where professional precision pays for itself.
The Cost of Neglect vs. The Cost of Care
A quality surfboard represents a significant investment — anywhere from $400 to over $1,000 for a custom shape. A basic ding repair kit costs under $30 and lasts for dozens of repairs. A tube of Solarez costs about $12 and fits in your board bag.
The math is simple. Fifteen minutes of repair time after a ding saves you hundreds of dollars in board replacement costs and keeps your favorite stick performing the way it was designed to. Boards that are well-maintained retain their flex pattern, their rocker profile, and their weight — all factors that directly affect how they surf.
Surfboard maintenance isn't glamorous. Nobody posts their ding repair on Instagram. But the surfers who take care of their equipment consistently ride better boards, spend less money over time, and never have to sit out a swell because their only board is waterlogged.
Take care of your board, and it'll take care of you.
Want personalized coaching on ding repair?
Neptune's AI coach can help you improve faster with personalized feedback, session tracking, and real-time conditions.