How to Read the Beach Before You Surf: A Pre-Paddle Assessment Guide
Neptune
April 27, 2026
Watch any experienced surfer arrive at the beach. They don't grab their board and sprint into the water. They stop. They stand at the edge of the sand for ten or fifteen minutes, sometimes longer, just looking.
To a beginner, this looks like procrastination. To the surfer, it's the most important part of the session.
Surfing happens in a constantly changing ocean. The break that worked yesterday at the same tide and swell can be completely different today because of a wind shift, a sandbar that moved overnight, or a swell coming in at a different angle. Reading the beach before you paddle out — really reading it, not just glancing at the waves — is the difference between getting waves and getting frustrated.
This guide walks through exactly what to look for and how to interpret it.
Why a Pre-Surf Check Matters
Most beginners skip this step. They check the forecast on their phone, see that the swell is "good," and rush into the water. Then they spend the next hour fighting currents, paddling for the wrong waves, and wondering why everyone else is catching twice as many.
Forecasts tell you what the ocean will do. The beach tells you what it's actually doing right now. Buoys are hours offshore. Local sandbars, wind shifts, tide gradients, and crowd dynamics are invisible to any forecast.
A solid five-to-fifteen-minute beach check gives you four critical pieces of information:
- Where the waves are actually breaking (the peak, or peaks)
- How to get out efficiently (channels, rips, lulls)
- What the waves are doing (size, period, shape, direction)
- What can hurt you (rocks, closeouts, currents, marine life, crowds)
Skip the check and you're guessing on all four.
Step 1: Find a Vantage Point
Before you do anything else, get above the water if you can. A small bluff, a parking lot, the top of a dune — any elevation gives you a perspective that's impossible to get from the waterline. From the sand, waves look like a wall of moving water. From even ten feet up, you can see the structure: the channels, the peaks, the rips, the way sets line up.
If your beach has a viewing area, use it. If not, walk up the beach to a point where you can see the lineup at an angle. The view straight on is the worst possible angle for reading waves.
Step 2: Watch Long Enough to See a Set
The single most common mistake new surfers make is watching for two minutes and thinking they've seen the conditions. They haven't.
Waves come in sets — groups of larger waves separated by quieter periods called lulls. Sets typically arrive every 8 to 18 minutes depending on swell period and conditions. If you only watch for five minutes, you might catch a lull and think the waves are smaller than they are. Or you might catch a single big set and think every wave is going to be a bomb.
Watch for at least two full sets. That usually means 15 to 20 minutes of patient observation. Time the sets. Count the waves in each set. Note which sets contain the cleanest, most rideable waves and which produce closeouts.
This is also the time to check the wave size honestly. Surfers are notoriously bad at estimating size from the beach — most underestimate. Look at how the wave compares to surfers in the water. If the wave is breaking over a surfer's head as they sit on their board, it's at minimum head-high. If it's twice their sitting height, it's overhead-plus.
Step 3: Identify the Peak
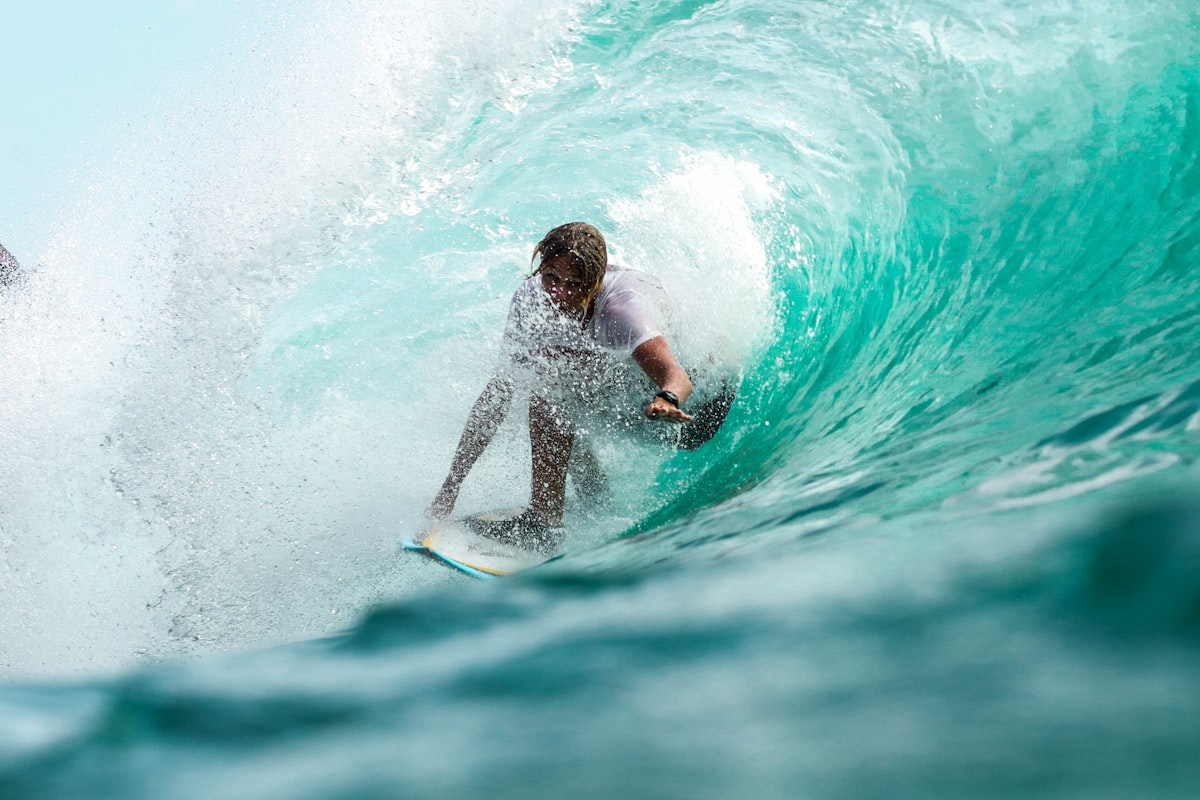
The peak is where the wave first starts to break. It's the apex of the wave's energy and the spot where you want to take off.
On a typical beach break, peaks form over sandbars. Watch where the waves are consistently breaking. Is there one main peak? Two? Three? Are they breaking left, right, or both ways (an A-frame)?
Look for these visual cues:
- A consistent breaking spot — if waves keep breaking in roughly the same place, that's a peak
- A wedge or A-frame shape — when a wave peaks up sharply rather than rolling in as a long line, you have a defined peak
- A clear shoulder — the unbroken part of the wave that peels away from the peak. The longer the shoulder, the longer the ride
What you don't want is a wave that breaks all at once across its entire length — that's a closeout, and you can't ride it. If most of the waves at your spot are closing out, the conditions aren't good for surfing regardless of size.
Step 4: Read the Sandbars
Beach breaks are entirely a function of sandbar shape. The waves are constant, but the sand on the bottom moves with every storm, every tide cycle, every season. The same beach can have great waves one month and unrideable closeouts the next.
You can read sandbars from the beach if you know what to look for:
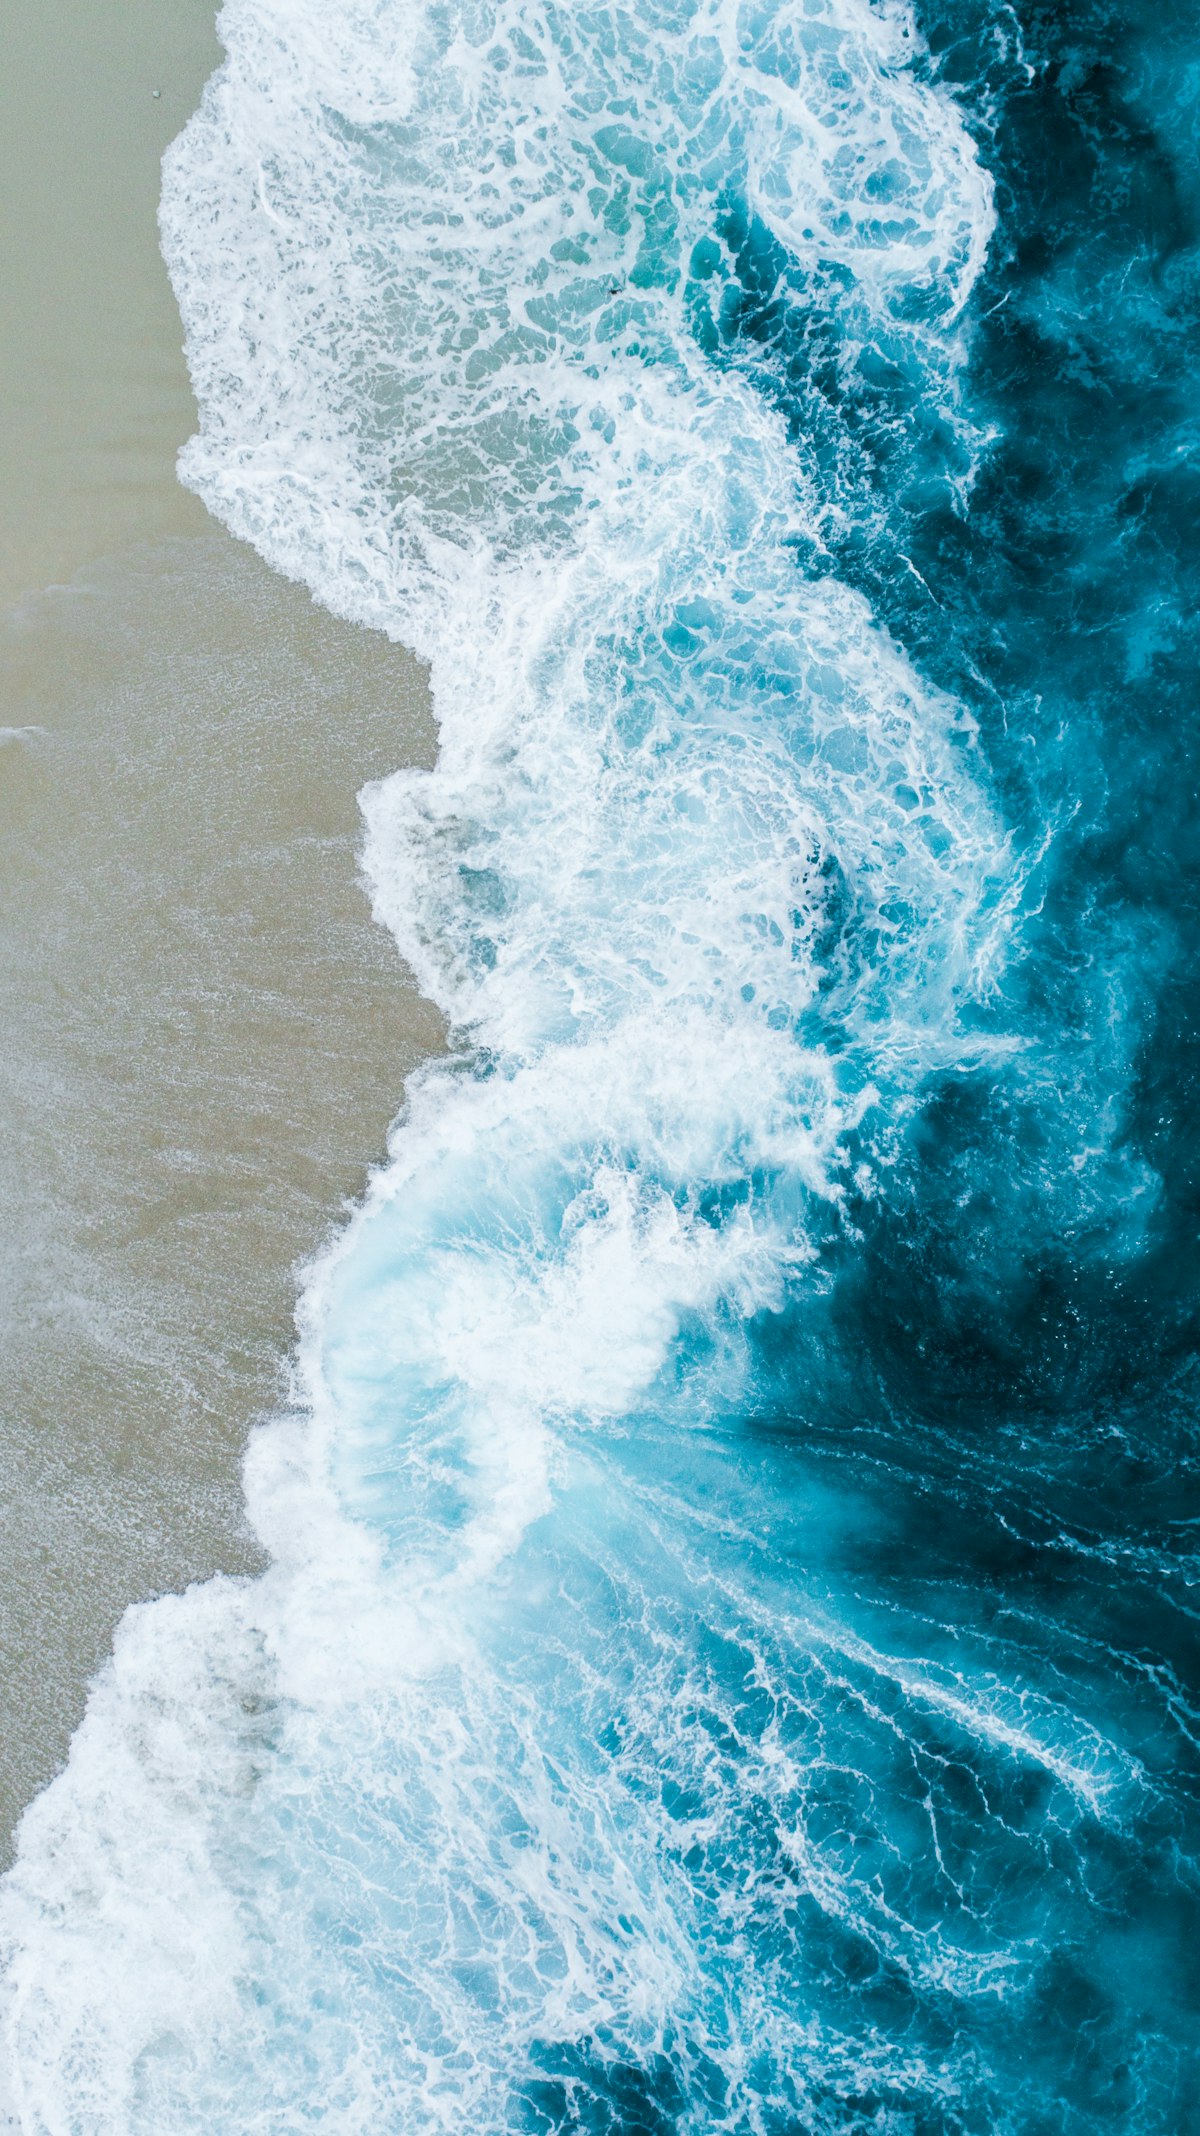
Color and Texture of the Water
- Darker water indicates depth — usually channels
- Lighter, sandy-colored water indicates shallower bottom — usually sandbars where waves will break
- Foamy, churning water between sets often marks where waves have just broken on a bar
Where Whitewater Lingers
Once a wave breaks, the resulting whitewater shows you the bottom contour. Watch where it travels. Whitewater that pushes straight to the beach indicates a flat bottom. Whitewater that flows sideways toward a darker patch of water reveals a channel — a deeper trough that the water is using to drain back to sea.
The Outline of the Bar
On a low tide, sandbars are sometimes visible just under the surface — you'll see a curved line of slightly darker water with lighter, breaking water on its inside. The outside edge of that line is where waves will jack up and break.
A good beach break has a defined sandbar with a channel next to it. Waves break on the bar. You paddle out through the channel.
Step 5: Spot the Rip Currents
Rip currents are powerful narrow streams of water flowing back to sea. To a swimmer, they're dangerous. To a surfer, they're a free elevator to the lineup.
Signs of a rip current:
- A flat, smoother patch of water running between breaking waves — rips often look "calmer" because they're carrying water out, not breaking
- Discolored water — sand and foam being carried offshore
- A break in the wave pattern — waves breaking on either side but not in the middle, because the deeper water of the rip channel won't let waves break there
- Foam or debris moving steadily out to sea
Working on read the beach? Get personalized tips from Neptune's AI coach.
Try FreeIf you see a rip, you've found two things at once: a danger zone for swimmers and an efficient paddle-out route for surfers. Use it carefully — paddle out in the rip, then move sideways out of it once you're past the breaking waves.
If you don't know how to spot or escape rips, read our rip current survival guide before paddling out anywhere with current.
Step 6: Read the Wind on the Water
The wind makes or breaks a session, and the wind on land is not always the wind on the water. Walk to the waterline and look at the wave faces.
- Glassy water with smooth, mirrored wave faces means light or no wind. Ideal.
- Offshore wind (blowing from land to sea) holds wave faces up, creating a hollower, more defined shape. The tops of the waves get spray blown back toward the lineup. Often considered the best wind for surfing.
- Onshore wind (blowing from sea to land) crumbles the wave faces, makes them break early, and creates messy, mushy conditions. The wave tops fall forward.
- Cross-shore wind runs parallel to the beach. Effects vary depending on the wave direction — sometimes fine, sometimes choppy.
Look at the surface texture. A glassy patch with no ripples means no wind. Tight, evenly spaced ripples mean light wind. Whitecaps offshore mean significant wind that's already affecting the waves.
If conditions are deteriorating — waves looking worse each set — surf early. If the wind is forecasted to switch favorable, wait it out.
Step 7: Check the Tide
Most surf spots have a "best tide" — a tidal range where the waves break best. Knowing the current tide and which way it's moving (incoming or outgoing) shapes your decision about when to paddle out.
You can read the tide visually:
- Wet sand line — where the high tide reached. The further down the beach the wet line is from current water level, the lower the tide is now.
- Exposed rocks or reef — visible at low tide, submerged at high
- Tide marks on pier pilings or jetty rocks — wet vs. dry shows recent tide level
- The way waves are breaking — same wave size will break differently at different tides. Low tide often produces hollower, faster waves. High tide often produces slower, mushier waves. The "right" tide depends on the spot.
If the spot is best at mid-incoming and you arrived at low, you may be early. Watch one set, then check again in 30 minutes — the wave will literally change as the tide moves.
Step 8: Watch the Other Surfers
The lineup itself is a source of information. Spend a few minutes watching what's actually happening in the water:
Where Are People Sitting?
Surfers congregate at the peak. If everyone is in one spot, that's the best wave. If the lineup is spread out, there are multiple peaks.
Who's Catching Waves?
If you see surfers consistently catching and riding, the conditions are probably better than they look. If you see lots of people paddling for waves and not making them, the waves might be closing out, mistimed, or the wind might be making takeoffs difficult.
Crowd Density
A crowded lineup means more competition for waves and a higher chance of conflicts. If your skill level is below the average in the water, consider a less popular peak nearby. Crowded lineups are not the place to learn.
Local Etiquette
Watch how the locals interact. Do they take turns? Is one person consistently getting the best waves? Are people paddling around each other or fighting for position? Read the social dynamics before you paddle out — paddling into a tense lineup as an outsider is a fast way to get burned.
For a refresher on how to behave in any lineup, see our surf etiquette guide.
Step 9: Identify Hazards
Before you paddle out, do a hazard scan. What can hurt you here?
- Submerged rocks or reef — visible at low tide, more dangerous at high when you can't see them
- Jetties, piers, or rocks at the edge of the break — note the distance the current might push you
- Marine life — if you're somewhere with seals (and therefore great whites), look for activity. Birds diving in tight clusters often mean baitfish, which means predators
- Sharp shells, glass, or debris on the beach — protect your feet
- Strong rips or large surf — if conditions are beyond your level, recognize it before you commit
The single most important hazard to identify is the impact zone — the area where waves are breaking with full force. Plan a paddle-out that avoids it. If the only way out is through the impact zone and you're not strong enough to handle that, the spot isn't right for you today.
Step 10: Set Reference Points
This is the secret weapon almost no beginner uses. Before you paddle out, pick two stationary objects on land that, when lined up, mark exactly where the peak is.
It might be a particular tree behind a parking sign. A house chimney lined up with a beach umbrella. The corner of a building lined up with a rock. Whatever works.
Once you're in the water, you can't see the bottom contour. The peak that was so obvious from the beach disappears. Without reference points, you'll drift up or down the beach without realizing it and end up sitting in the wrong spot.
With reference points, you glance at land, line them up, and instantly know whether you're sitting where you want to be. This is how locals seem to magically be in the right place every time. They've internalized their reference points over years of surfing the spot.
Set at least two — one for your latitudinal position (how far up or down the beach), one for your distance from shore. Check them between every wave.

Putting It Together: A Five-Minute Pre-Surf Routine
Here's a practical routine you can run every time you arrive at the beach:
Minute 1: Walk to a vantage point. Note overall conditions — size, wind, tide, crowd.
Minute 2-4: Watch a full set. Identify peaks, channels, and rips. Note the time between sets.
Minute 5-8: Watch a second set. Confirm what you saw — is the peak consistent? Are the channels stable?
Minute 9-10: Pick your peak. Pick your paddle-out route. Set your reference points.
Minute 11-12: Hazard scan. Watch the lineup dynamics. Confirm you're in the right place for your ability.
Minute 13-15: Suit up, stretch, and walk in.
That's a fifteen-minute investment that will pay for itself in caught waves, avoided beatings, and better positioning.
Train Your Eye Over Time
Reading a beach is a learned skill. The first hundred times, you'll miss things. You'll think the peak is over there when it's actually thirty yards down the beach. You'll mistake a closeout pattern for a perfect peeling wave. You'll fail to spot the rip until you're being carried out in it.
That's normal. Reading water is pattern recognition, and pattern recognition takes reps.
A few practices that accelerate the learning curve:
- Take photos from your vantage point at the start of every session. Compare what you predicted with what actually happened in the water.
- Surf the same spot in different conditions — same swell at different tides, same tide at different swells. You'll start to feel how the variables interact.
- Watch surf footage of unfamiliar breaks and try to identify the peak, the channel, the wind direction, and the takeoff zone before the surfer does.
- Keep a session journal of what you saw from the beach versus what the session was actually like. Patterns emerge after a few months.
Use Neptune to log your sessions and the conditions you surfed in. Over time, you'll build a personal database of which conditions work for which spots — and you'll start predicting good sessions before you ever leave home.
The Habit That Separates Good Surfers From Great Ones
Here's what nobody tells beginners: the surfers who consistently get the best waves aren't necessarily the best athletes. They're the ones who read the ocean better. They sit in the right spot. They catch the right wave. They paddle out at the right time. They don't waste energy fighting bad currents or chasing closeouts.
That skill — the eye — is built on the beach, not in the water.
Five minutes of patient observation before you paddle out is worth more than thirty minutes of flailing in the wrong spot. Make it a habit. Stand on the sand. Watch the sets. Find the peak. Then paddle out with a plan.
The waves will reward you for it.
Want personalized coaching on read the beach?
Neptune's AI coach can help you improve faster with personalized feedback, session tracking, and real-time conditions.