The Complete Guide to Waxing Your Surfboard
Neptune
March 22, 2026

Why Wax Matters More Than You Think
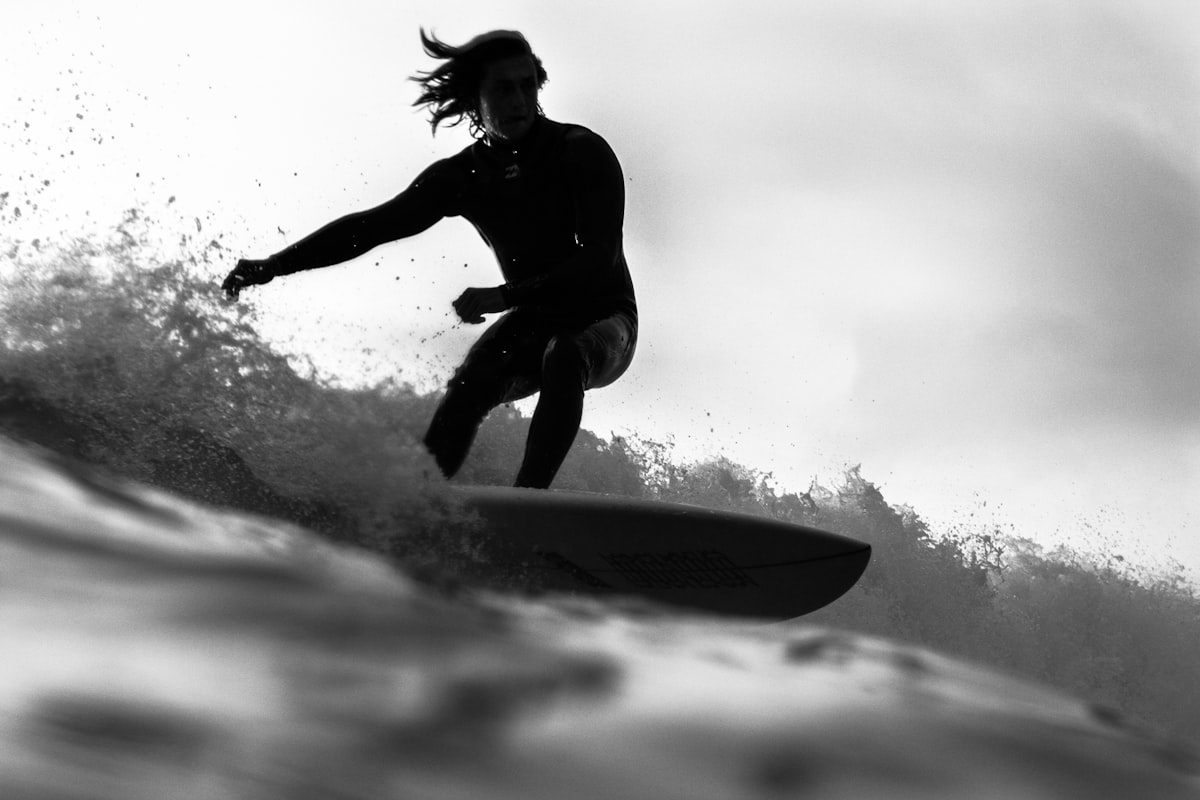
Here's something that surprises a lot of new surfers: the thin layer of wax on your board is one of the most important pieces of your surf setup. You can have the perfect board, the right fins, and ideal wave conditions — but if your wax job is wrong, you're going to spend more time slipping off your board than riding waves.
Surf wax creates the textured, tacky surface that your feet, chest, and hands grip onto. Without it, a surfboard's deck is essentially a slippery fiberglass platform. Every pop-up, every turn, every paddle stroke relies on the friction that wax provides. And yet, waxing is one of those skills that most surfers learn haphazardly — picking up bits of advice here and there, never really understanding the why behind the how.
This guide covers everything you need to know: how to choose the right wax for your water temperature, how to apply a proper basecoat and topcoat, how to maintain your wax between sessions, and when and how to strip it all off and start fresh.
Understanding Surf Wax: What It Actually Is
Surf wax is a blend of natural and synthetic waxes — typically a mix of paraffin, beeswax, and sometimes coconut oil or other additives. The exact formula varies by brand and temperature rating, but the goal is always the same: create a soft, sticky surface that provides traction when wet.
The key thing to understand is that surf wax works through texture, not just stickiness. When applied correctly, wax forms thousands of tiny bumps across your board's deck. These bumps are what your feet and body actually grip onto. A smooth layer of wax — even if it's the right temperature rating — won't give you nearly as much traction as a properly textured one.
This is why application technique matters so much. You're not painting your board; you're building a three-dimensional texture.
The Two-Layer System: Basecoat and Topcoat
Every good wax job has two layers:
-
Basecoat — A harder wax applied first that creates the foundational bump pattern. The basecoat is what gives your wax job its structure and longevity. It melts at a higher temperature than topcoat wax, so it stays intact longer.
-
Topcoat — A softer, stickier wax applied over the basecoat that provides the actual grip. Topcoat wax is temperature-specific — you choose it based on the water temperature where you're surfing.
Think of it like building a house: the basecoat is the foundation, and the topcoat is the finish. Skip the basecoat, and your topcoat won't have anything to cling to. It'll smear flat, lose its bumps quickly, and you'll be re-waxing constantly.

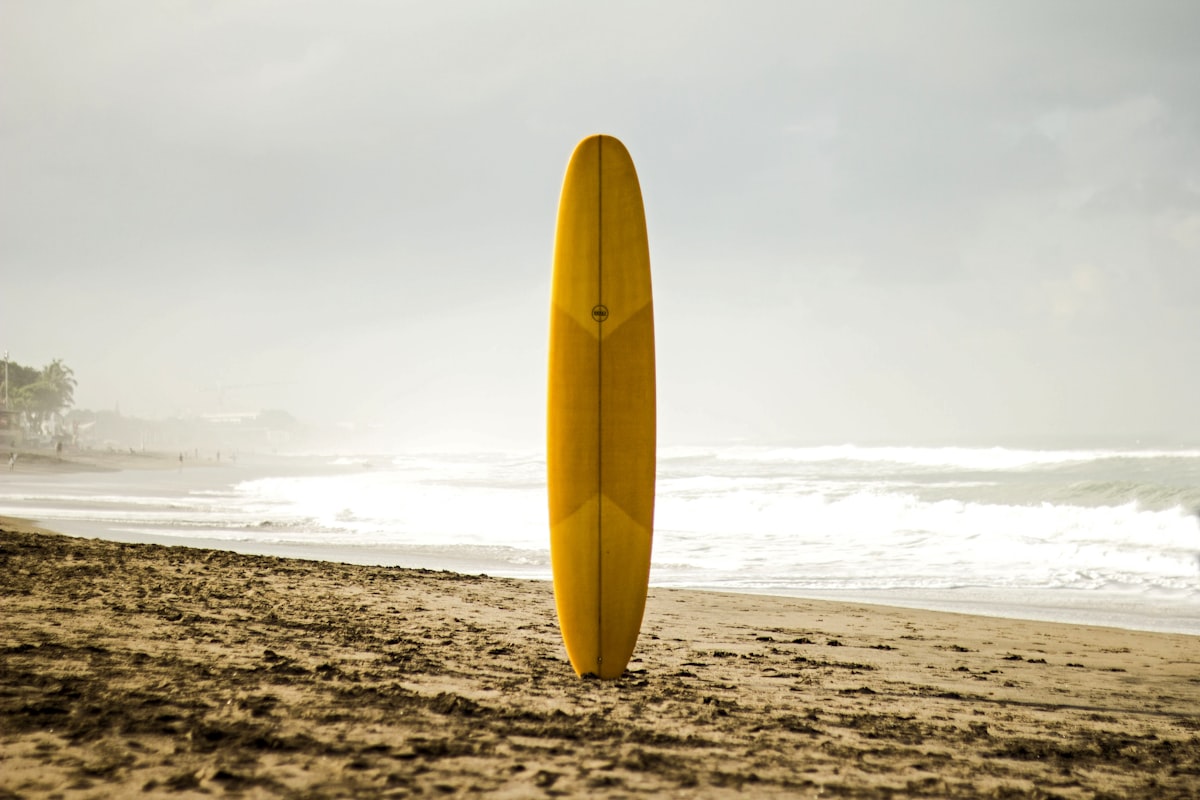
Choosing the Right Wax for Your Water Temperature
Surf wax comes in temperature ratings because different water temperatures require different wax hardness. Use wax that's too hard for cold water, and it won't stick properly. Use wax that's too soft for warm water, and it'll melt into a slippery mess.
Here's the standard breakdown:
Cold Water Wax (Below 58°F / 14°C)
This is the softest topcoat wax available. It's designed for winter surfing in places like Northern California, the Pacific Northwest, the UK, and northern Europe. Cold water wax stays tacky even when the water and air are frigid. If you use it in warm water, it'll turn into a gooey puddle on your board.
Cool Water Wax (58–68°F / 14–20°C)
The sweet spot for a huge range of surf destinations during their cooler months — think Southern California in winter, Portugal in spring, or southern Australia in autumn. Cool water wax is slightly harder than cold water wax but still soft enough to grip well in moderate temperatures.
Warm Water Wax (68–78°F / 20–26°C)
Designed for tropical-adjacent conditions — summer in most of the continental US, the Mediterranean, Bali's cooler months, and similar climates. Warm water wax is noticeably harder than cool water wax and resists melting in higher temperatures.
Tropical Wax (Above 78°F / 26°C)
The hardest topcoat wax, built for the warmest water on earth — Hawaii in summer, Costa Rica, the Maldives, Indonesia, and the Caribbean. Tropical wax has the highest melting point and stays firm even in scorching heat. If you use it in cold water, it'll feel like rubbing a candle on your board — too hard to form proper bumps.
Basecoat Wax
Basecoat wax is always hard, regardless of water temperature. It's designed to create a durable bump pattern that won't melt or flatten easily. You use the same basecoat whether you're surfing in Iceland or Indonesia. Some surfers use tropical wax as a basecoat in cold water, which works in a pinch, but purpose-made basecoat wax is harder and more durable.
Pro tip: When in doubt between two temperature ratings, go with the softer (colder) option. Wax that's slightly too soft will still provide grip — it'll just wear faster. Wax that's too hard won't grip at all.
How to Apply Wax: Step-by-Step
Step 1: Start With a Clean Board
If you're waxing a brand-new board, you're good to go — just make sure the deck is clean and dry. If you're re-waxing an old board, you'll need to strip the old wax first (more on that below).
The surface should be free of dust, sand, and moisture. Wax adheres best to a clean, dry deck.
Step 2: Apply the Basecoat
Take your basecoat wax and apply it using one of these two methods:
Crosshatch method (recommended for beginners):
- Hold the wax at a 45-degree angle to the board
- Draw diagonal lines across the deck in one direction, spaced about half an inch apart
- Draw diagonal lines in the opposite direction, creating a crosshatch pattern
- Go over the entire pattern with light circular motions until small bumps begin to form
Circular method:
- Press the wax firmly against the deck
- Make small, tight circles — about the size of a quarter
- Work systematically across the entire deck area
- Apply moderate pressure — you want to feel the wax catching and building bumps
The basecoat takes more effort than the topcoat. You're pressing hard wax into a smooth surface, so expect it to feel resistant at first. After 20–30 seconds of working an area, you should start to see small, evenly spaced bumps forming. That's exactly what you want.
Where to apply: Cover the entire area where your body contacts the board. For shortboards, that's roughly the back two-thirds of the deck. For longboards, cover the entire deck since you'll be walking the board. Don't forget the rails where your hands grip during duck dives.
Step 3: Apply the Topcoat
Once your basecoat has a visible bump pattern across the entire waxed area, switch to your temperature-appropriate topcoat.
The topcoat goes on much more easily. Use light circular motions — less pressure than the basecoat. You're not trying to create new bumps; you're filling in and building on top of the existing ones. The topcoat should feel sticky and tacky as you apply it.
Apply until the bumps are well-defined and the surface feels grippy to the touch. Run your fingers across it — it should feel like coarse sandpaper, not a smooth candle.
Working on board maintenance? Get personalized tips from Neptune's AI coach.
Try FreeStep 4: Texture Check
Before you hit the water, do a quick grip test:
- Press your palm flat against the waxed surface and slide it. You should feel significant resistance.
- The bumps should be uniform and evenly distributed — no bald spots or smooth patches.
- The wax should feel slightly sticky to the touch, not dry or slippery.
If any area feels smooth or under-waxed, add more topcoat to that specific spot.
Maintaining Your Wax Between Sessions
A good wax job doesn't need to be redone every session. With proper maintenance, your basecoat can last weeks or even months. Here's how to keep your wax performing:
Before Each Session
Give your board a quick once-over. If the wax looks flattened or shiny (a sign the bumps have been compressed), use a wax comb to rough it up. A few diagonal strokes across the surface will restore the bump texture without needing to add new wax.
If the wax looks thin in spots — especially in the area where your back foot lands — add a thin layer of fresh topcoat to those areas.
After Each Session
Rinse your board with fresh water to remove salt and sand. Sand embedded in wax creates an abrasive surface that can irritate your skin and damage your wetsuit over time.
Never leave your board in direct sunlight or in a hot car. This is the number one wax killer. Heat melts the topcoat, flattening those carefully built bumps into a smooth, useless layer. If you need to transport your board on a hot day, use a board bag or at minimum cover the deck with a towel.
The Wax Comb: Your Best Friend
A wax comb is a small, inexpensive tool that every surfer should own. It typically has two edges:
- Serrated edge — for scoring diagonal lines into flattened wax to restore texture
- Straight edge — for scraping off old wax when it's time for a full strip
Before each session, take 30 seconds to run the serrated edge across your wax in a crosshatch pattern. This simple habit can extend the life of your wax job dramatically and ensure you always have good grip.
When and How to Strip Your Wax
Even with good maintenance, wax accumulates dirt, sand, and salt over time. It turns from a clean white or colored surface to a dingy grey-brown. When this happens — or when you're switching temperature ratings for a trip — it's time for a full strip and re-wax.
Signs It's Time to Strip
- The wax has turned dark and dirty despite combing
- You're getting less grip even after adding fresh topcoat
- You're traveling to water that requires a different temperature rating
- It's been more than 2–3 months since your last full strip
- You can see dings or damage underneath that needs repair
How to Strip Wax
Method 1: Sun and scrape
- Leave your board in the sun for 5–10 minutes (deck up) until the wax softens
- Use the straight edge of your wax comb to scrape off the softened wax
- Work in long strokes from nose to tail
- Wipe remaining residue with a cloth and wax remover solution (or coconut oil)
Method 2: Wax remover solution
- Apply a commercial wax remover (like Pickle Wax Remover) to the deck
- Let it sit for a few minutes
- Wipe off the dissolved wax with a clean cloth
- Repeat until the deck is clean
Method 3: Hair dryer (for cold days)
- Use a hair dryer on low heat to soften the wax
- Scrape with your wax comb as it softens
- Clean residue with wax remover
After stripping, inspect your board for any dings, cracks, or pressure dents. This is the perfect time to do small repairs before applying a fresh wax job.
Common Wax Mistakes and How to Avoid Them
Mistake 1: Skipping the Basecoat
This is the most common mistake beginners make. Without a basecoat, your topcoat has nothing to bond to. It'll smear flat, lose its bumps within a few waves, and leave you slipping all over your board. Always start with a basecoat — it takes an extra five minutes and makes everything that follows work better.
Mistake 2: Using the Wrong Temperature
If your wax feels too hard to apply or melts into a puddle before you even get in the water, you've got the wrong temperature rating. Check the water temperature at your local break and match it to the appropriate wax. Most wax brands print the temperature range clearly on the packaging.
Mistake 3: Applying Wax in Direct Sunlight
Wax your board in the shade or indoors. Applying wax to a hot board causes it to melt on contact, creating a smooth layer instead of the bumpy texture you need. The ideal waxing environment is room temperature or cooler.
Mistake 4: Not Waxing the Rails
Your hands grip the rails during duck dives, turtle rolls, and when carrying your board. A thin layer of wax on the upper rails — just the top inch or two — gives you a much more secure grip in critical moments.
Mistake 5: Over-Waxing
More wax isn't always better. Thick, built-up wax adds unnecessary weight to your board and can actually reduce grip as the bumps become rounded mounds instead of sharp points. If your wax is getting thick and blobby, it's time to strip and start fresh rather than adding more on top.
Mistake 6: Storing Your Board Wax-Side Down in Heat
Leaving a waxed board face-down on hot pavement or in a sun-baked car will destroy your wax job in minutes. Always store your board in shade, in a board bag, or standing vertically in a cool spot.
Wax Alternatives: Traction Pads and Beyond
Traction pads (also called deck grips or tail pads) are foam pads that stick permanently to your board's deck, providing grip without wax. Most modern shortboarders use a traction pad on the tail of their board for their back foot, but still wax the rest of the deck.
When traction pads make sense:
- Tail area of shortboards and performance boards — provides a consistent reference point for your back foot
- Stand-up paddleboards — full deck pads eliminate the need for wax entirely
- Boards used in extremely warm climates where wax maintenance is a constant battle
When wax is still king:
- The front and middle sections of any board where your feet position varies
- Longboards where you walk the board and need grip across the entire deck
- The chest and stomach area for paddling — traction pads here would be uncomfortable
Most competitive and experienced surfers use a hybrid approach: a traction pad on the tail and wax everywhere else. This gives you the best of both worlds — reliable back foot placement from the pad and customizable grip from the wax.
Building Good Wax Habits
The best surfers treat waxing as part of their pre-surf ritual, not a chore they avoid until their feet are sliding all over the place. Here's a simple routine to adopt:
Before every session (30 seconds):
- Quick visual check of your wax — look for bald spots or flattened areas
- A few strokes with the wax comb to refresh texture
- Add a thin layer of topcoat to any thin spots
Every 2–4 weeks:
- Full topcoat refresh — comb the existing wax and apply a fresh layer of topcoat over the entire deck
Every 2–3 months (or when switching temperature ratings):
- Full strip and re-wax from scratch — basecoat and topcoat
Gear to keep in your surf bag:
- One bar of basecoat wax
- One or two bars of topcoat wax (appropriate for your local water temperature)
- A wax comb
- A small bottle of wax remover for full strips
That's it. Waxing your surfboard properly is one of those small details that separates a frustrating session from a great one. It costs almost nothing, takes just a few minutes, and directly impacts every single wave you ride. Nail the basics — right temperature, proper basecoat, regular maintenance — and you'll spend less time thinking about your grip and more time focused on what actually matters: surfing.
Want personalized coaching on board maintenance?
Neptune's AI coach can help you improve faster with personalized feedback, session tracking, and real-time conditions.