How to Do a Floater in Surfing: The Complete Guide to Riding Over the Lip
Neptune
April 19, 2026
What a Floater Actually Is
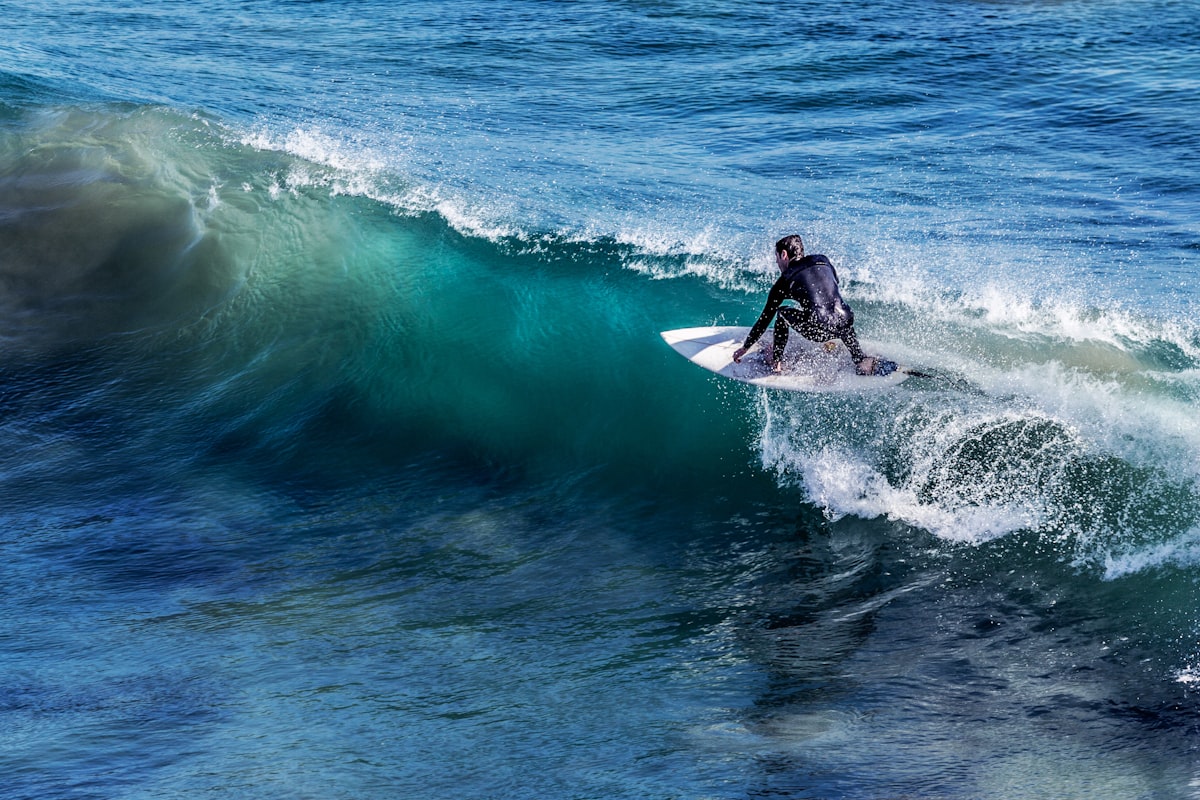
A floater is a maneuver where you ride up and over the breaking part of a wave — the lip or the whitewater section — and land back on the unbroken face to keep surfing. Instead of getting swallowed by a section that's about to pitch or crash, you escape upward, briefly travel across the top of the foam, and drop back in.
It's one of the most practical maneuvers in surfing. Cutbacks look great, airs get the cheers, but floaters are the tool that turns a dead-end ride into a longer wave. When a section closes out, you have three options: kick out, eat the lip, or float. Only the last one keeps you riding.
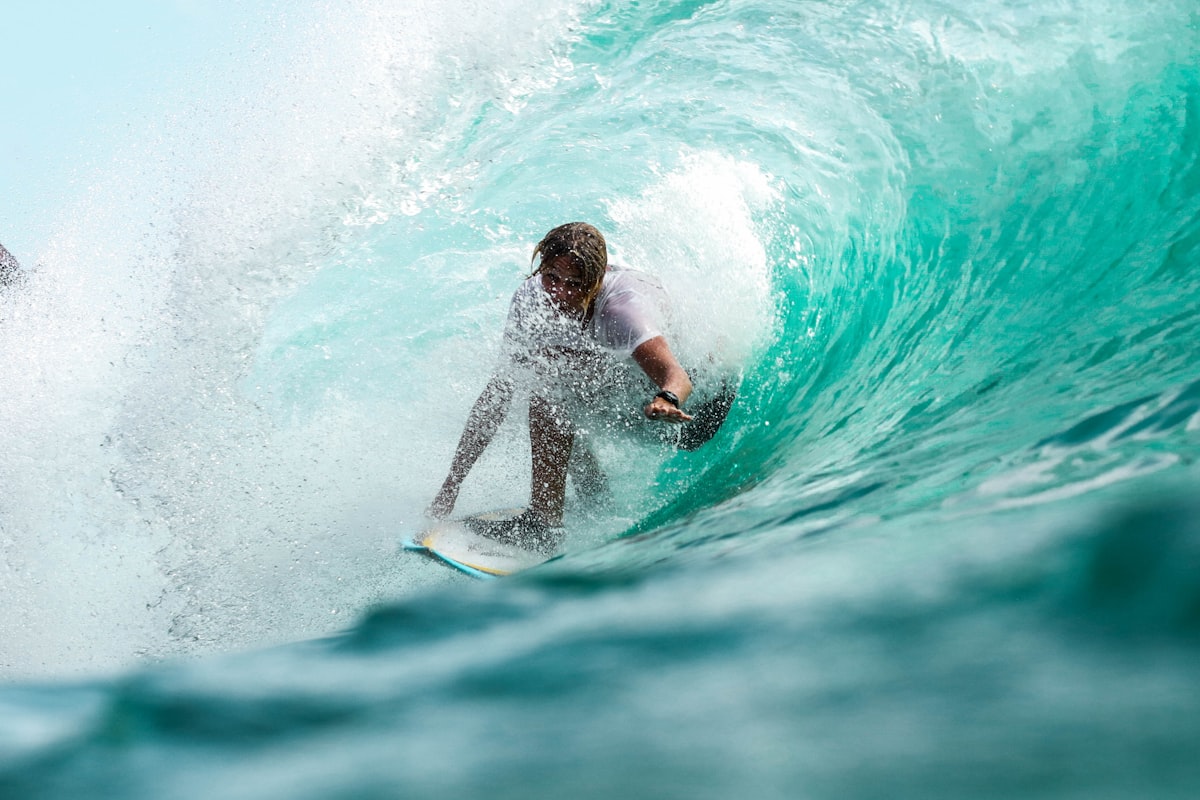
It also looks incredible. The surfer appears to hover for a moment, suspended on top of collapsing whitewater, before reconnecting with the face in a shower of spray. High-function and high-style at the same time.
This guide walks through what's happening physically, when to use a floater, how to actually do one, and the mistakes that hold most surfers back.
Why the Floater Matters More Than You Think
Watch an intermediate surfer and you'll notice a pattern: they stand up, trim, maybe throw a turn, then a section jumps in front of them and the wave ends. They kick out. Fifteen seconds, done.
Watch an advanced surfer on the same wave and something different happens. When the section jumps, they go up and over it. The floater adds another ten, fifteen, sometimes thirty seconds to the ride — and that extra time is where improvement lives. Surfers who can float closeout sections get twice the wave time of surfers who can't, and they learn twice as fast.
The floater also teaches you something important about wave reading. To float well, you have to see the section coming before you get there — you learn to project your eyes down the line and plan three seconds ahead. That predictive vision carries over into every other part of your surfing.
The Physics of Riding Over Whitewater
When a wave breaks, the lip pitches forward and crashes onto the flat water in front of it, creating a chaotic, aerated layer of whitewater. For a brief window, that foam is still moving in the same direction as the wave and carrying real energy — it acts almost like a soft ramp.
A floater takes advantage of that window. You ride up onto the foamy section at an angle, let momentum carry you across, and use your rail to glide along the surface. Gravity pulls you back down, and if you've timed it right, you land on the unbroken part of the wave in front of the whitewater.
The tricky part: whitewater isn't uniform. It's softer on top, denser underneath, and it collapses quickly. Too early and you're plowing into a thick, wet wall. Too late and the lip has already crashed past, leaving you on flat water. The sweet spot is maybe a second and a half wide.
Prerequisites Before You Try One
A floater is an intermediate-to-advanced maneuver. If you're still working on pop-ups or haven't linked a proper bottom turn, you're not ready — not because floaters are dangerous, but because you won't have the wave-reading skills to spot the right section or the rail control to execute the climb.
Before you commit to learning floaters, you should reliably have:
- A clean, fast pop-up — you need to be up and trimming within a second of catching the wave, because floaters require maximum speed going into the section.
- A working bottom turn — the floater's setup is almost always a bottom turn that projects you up toward the lip.
- Basic rail-to-rail control — you need to be able to switch from a leaned-over rail to a flatter stance mid-wave without falling.
- Comfort with whitewater — if getting hit by foam still rattles you, the floater's landing zone is going to feel much scarier than it needs to.
Most surfers who check these boxes can start working on floaters. You don't need to be a pro. You just need to be past the survival phase.
Reading the Right Section
Not every closeout is a floatable closeout. Learning to tell the difference is most of the battle.
The Ideal Floater Section
You want a section that is:
- Just starting to pitch or crumble — the lip is throwing forward but hasn't fully crashed yet
- Relatively short — a three-to-five-foot stretch of whitewater you can comfortably cross, not a twenty-foot closeout
- Followed by open face — there's still an unbroken, rideable section on the other side you can drop into
- Moving at a predictable speed — the wave is peeling down the line in a way you can track
The best floater setups happen when a wave has a soft or weak section in the middle of an otherwise makeable ride. You can see the section slow down and crumble from twenty feet away, and the face picks back up beyond it. Float that section, land in the green, keep going.
Sections to Avoid
Skip the floater when:
- The section is a true closeout across the whole wave with nothing to land on
- The wave is hollow and dumping hard — a thick lip will collapse any attempt at floating
- You don't have enough speed coming in
- The section is too long to cross before gravity drops you
Developing this judgment takes time. Watch waves before you paddle out. Pick a specific wave arriving at your spot and predict out loud what it will do. Does it have a soft middle? Does it close out? Does it back off? The more you practice reading, the faster you'll spot floater opportunities in real time.
The Four Phases of a Floater
A clean floater has four distinct phases. Most missed floaters come from rushing phase one or skipping phase four.
Phase 1: The Setup
Working on floater? Get personalized tips from Neptune's AI coach.
Try FreeThe setup starts maybe three to four board-lengths before the section you plan to float. You need speed, and you need an angle that sends you up toward the lip rather than along the bottom of the wave.
Do a compressed bottom turn — slightly deeper than a normal one — and unwind as you project upward. Your eyes should already be locked on the top of the section where you plan to cross. Where you look is where you go. If your eyes drop to the flat water at the base of the section, your board goes there too, and you'll hit the wall rather than ride over it.
Phase 2: The Climb
As your board reaches the breaking section, the lip is either starting to pitch or just beginning to crumble. Your board's nose should arrive at the lip angled across the wave — not straight up at the sky, not straight along the beach. A 30-to-45-degree angle up the face is ideal.
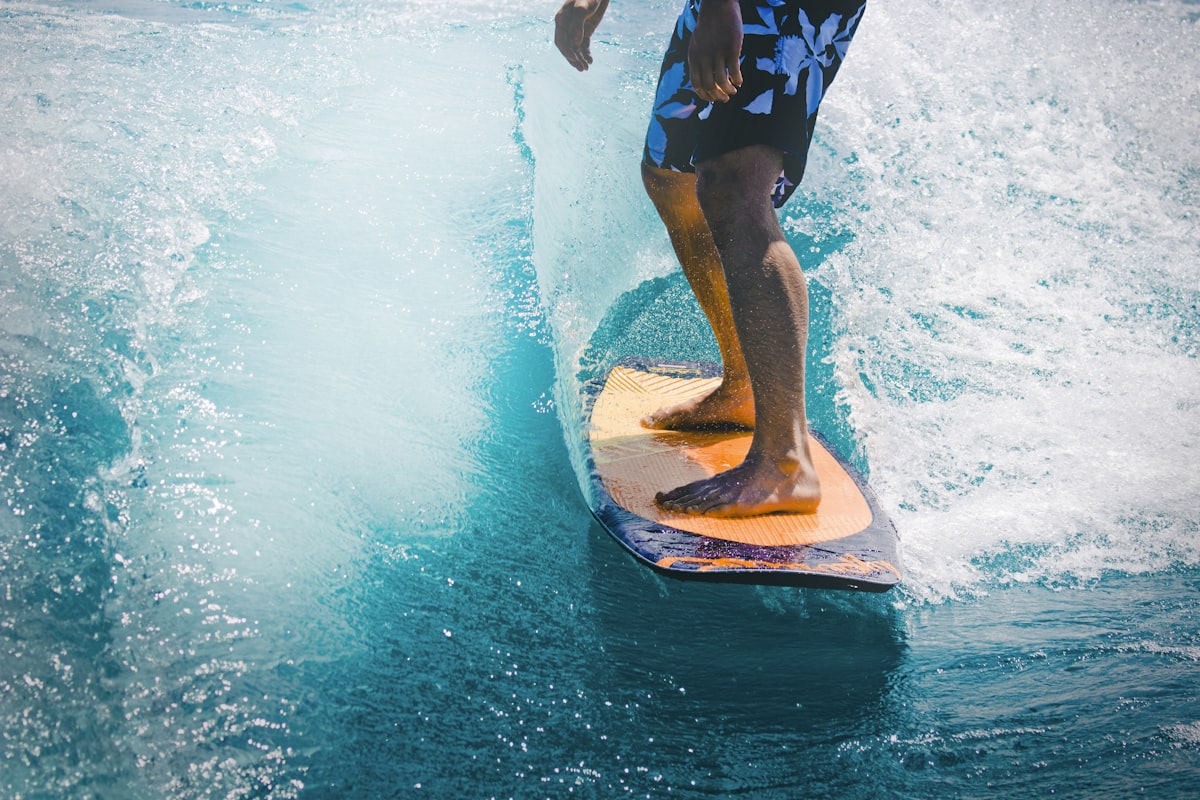
Transfer your weight from back foot to center. Too much back foot and you'll stall. Too much front foot and you'll pearl into the foam. Stay centered and slightly compressed. Let the wave push you up rather than trying to climb with muscle.
Phase 3: The Float
You're now riding on top of whitewater. For a brief second or two, your board is gliding across foam that's still moving with the wave. Keep your knees bent. Keep your weight centered. Keep your eyes looking down the line at your landing zone, not down at your feet.
Resist the urge to turn or twist while you're up there. A floater is not a grab or a spin. It's a clean, straight glide. Let the wave do the work. The more you fight it with corrections, the more likely you are to catch a rail or stall.
Your arms should be relaxed and slightly spread for balance. Your shoulders stay aligned with your board — not twisted toward the beach, not twisted toward the ocean.
Phase 4: The Drop-In
This is where most floaters get blown. The surfer makes it to the top, rides across, and then just... falls. The drop back onto the wave face is as important as the climb.
As you reach the end of the whitewater section, shift your weight forward slightly and commit to coming down with the board. Spot your landing — the open face of the wave — and absorb with your legs. Land on your rail, not flat, with your nose angled down the line. The moment you reconnect with the face, you should be in a position to continue riding, not reset.
If the drop is steeper — sometimes you come off the whitewater above the wave face by a foot or two — treat it like a small drop-in from a higher takeoff. Compress, absorb, and keep your weight centered over the board.
Common Mistakes and How to Fix Them
You Stall on Top of the Foam
Cause: not enough speed going in, or too much weight on your back foot.
Fix: get deeper in your bottom turn, unwind harder, and shift to center stance as you climb. Speed solves most floater problems.
Your Nose Catches and You Pearl
Cause: hitting the section too steep or too late, with your nose pointing down instead of across.
Fix: set up earlier. Approach the section at an angle, not head-on. Keep your eyes at the top of the lip, not at the base of the foam.
You Land Flat and the Board Bogs
Cause: coming off the whitewater without a rail set, landing on the bottom of the board.
Fix: as you drop, commit to one rail — usually the inside rail relative to the wave. A flat landing kills your momentum. A rail landing keeps you moving.
You Make the Float but Kick Out Anyway
Cause: habit. You've ridden this section a hundred times and kicking out is automatic.
Fix: mental reset. Before you paddle out, tell yourself: I will complete the wave after the floater. Visualize the second half of the ride. This is a surprisingly common block for intermediate surfers.
You Turn or Twist Mid-Float
Cause: trying to add style before you have the basics.
Fix: do twenty clean, straight floaters before you attempt any variations. The foundation matters. Style comes from stability, not from adding moves.
Progression Drills
Drill 1: Whitewater Re-Entries
Before you try floating a live section, practice riding up into broken foam in the inside section and coming back down. This isn't a true floater, but it teaches your feet and your eyes the basic geometry of climbing and dropping. Do twenty of these before you move on.
Drill 2: Small-Wave Floaters
Start with knee-to-waist-high waves that have soft, crumbly sections. The speed is slower, the consequences are minimal, and the section is easier to read. Bigger waves add complexity — get the movement locked in on small surf first.
Drill 3: The Commit Drill
For a full session, commit to floating every single section that presents itself, even the ones you'd normally kick out of. You will eat it. A lot. But you'll dramatically accelerate your learning, because you'll stop second-guessing and start collecting real data about what works.
Drill 4: Watch Yourself
Film yourself. Most surfers are shocked at the gap between what they thought they did and what they actually did. One session of video feedback teaches more than a month of guessing.

Board Choice and Setup
You can float on almost any board, but some make it easier.
- Shortboards (5'6" to 6'4") with modern performance rockers are the easiest tools for learning. They climb cleanly and release off the top without fighting you.
- Fish and groveler boards can float but require more commitment — flatter rockers want to bog on top of foam if you don't drive through with speed.
- Mid-lengths and longboards can absolutely float, though timing and rail engagement are different. Give yourself more runway and expect a more drawn-out feel.
- Fin setup matters less than you think. Thrusters and quads both float well.
Don't buy a new board to learn floaters. Use what you have. The maneuver is about technique and wave reading, not equipment.
When It Clicks
Floaters have a strange learning curve. Most surfers struggle and struggle, then one day something clicks and they can suddenly do them. Several skills have to come together at once — reading the section, timing the approach, stance, commitment, landing — and until all of them line up, none of them work.

When it clicks, it clicks permanently. Once your body understands the geometry of climbing, crossing, and dropping, you have it for life. You stop thinking about it and just do it.
Every surfer who can throw a clean floater today spent a season eating foam to get there.
Final Thoughts
The floater is not the flashiest maneuver in surfing. It doesn't win heats on its own. It doesn't make highlight reels the way an air does. But it's one of the highest-leverage skills a developing surfer can learn, because it unlocks wave time — and wave time is the raw material of progression.
If you can float reliably, you'll finish more waves, ride longer, surf more sections, and learn faster. You'll see waves differently. You'll start noticing floater opportunities on rides you would have written off before.
Start small. Read the section. Commit. Stay centered. Land with a rail. Repeat until your body knows the shape of the move without you thinking about it. Once it clicks, it's yours for the rest of your surfing life.
Want personalized coaching on floater?
Neptune's AI coach can help you improve faster with personalized feedback, session tracking, and real-time conditions.